Installation Guides
Cookie Consent Setup
How to setup PixelFlow with 3rd party cookie consent
Setup PixelFlow with Finsweet cookie consent Webflow plugin
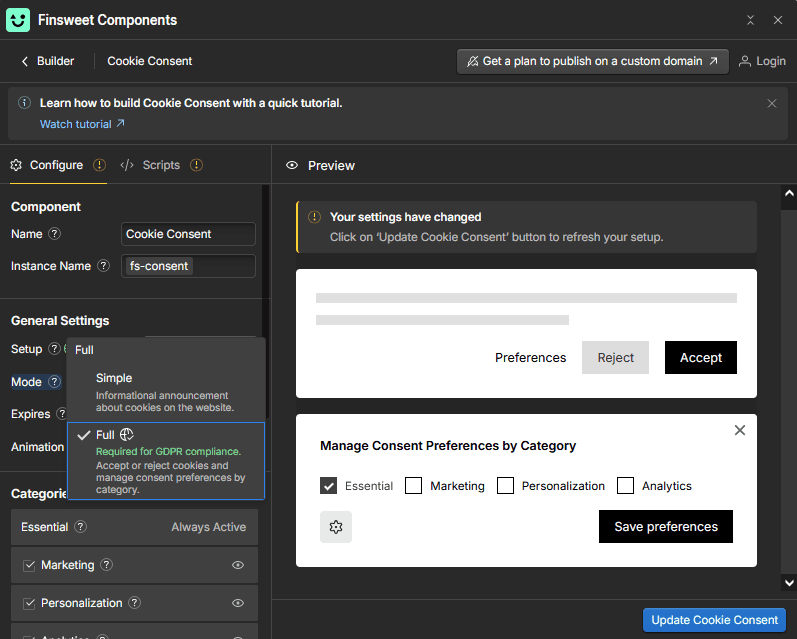
1. In the "Configure" page, ensure setup mode in "General Settings" is set to "Full"
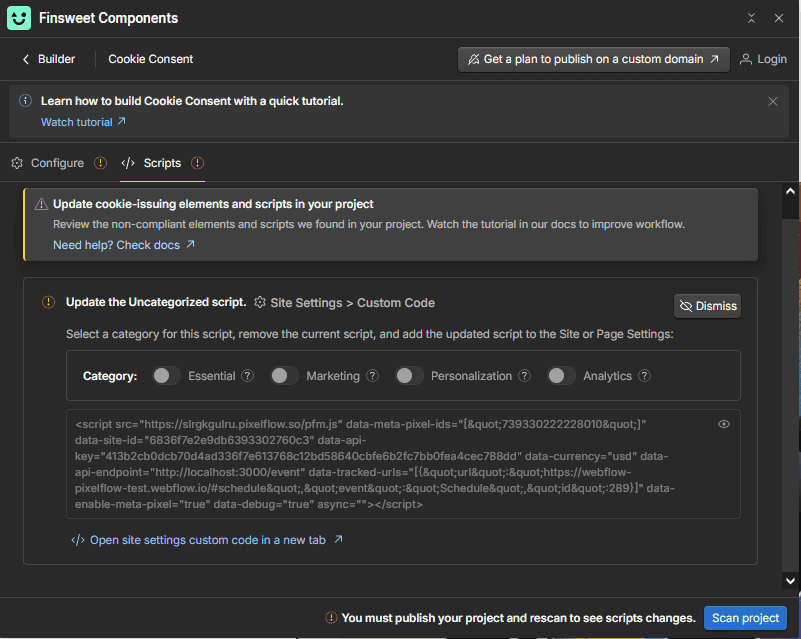
2. In the "Scipts" tab, you'll see the PixelFlow script (starts with <script src="https://slrgkgulru.pixelflow.so/pfm.js"...) listed as "Uncategorised script". Select "Marketing" as the category and then Publish the site to save your changes.
Setup PixelFlow with CookieBot
To setup PixelFlow with CookieBot CMP, you simply need to add two lines of code to your script to declare its purpose:
Valid values for data-cookieconsent are
"preferences"
"statistics"
"marketing"
"ignore"
You can also use a combination of these categories (with the exception of "ignore"), for example data-cookieconsent="statistics, marketing".
"necessary" or "unclassified" are not valid values and should never be used. Instead necessary scripts should simply not be marked up.
If you add "marketing" to your script, Cookiebot will only run it after the user accepts Marketing cookies.

Example:
This is how your script may look beforehand:
And this is how your script will now look afterwards:
Setup PixelFlow with Google Tags Manager
Its possible to add PixelFlow to load within your Google Tags manager which can be useful for cookie consent.
To setup PixelFlow with Google Tags Manager follow these steps
1. Get Your PixelFlow Script Snippet - PixelFlow should give you a script tag that looks something like this (example):
Make sure you copy your actual script and unique key from your PixelFlow dashboard.
Log in to Google Tag Manager - Go to tagmanager.google.com
Create a New Tag:
In the left menu, click Tags → New
Click Tag Configuration
Choose Custom HTML
Paste the PixelFlow Script
Paste your PixelFlow script into the HTML box.
Set the Trigger - Click Triggering and choose All Pages (or specific pages if you only want it on certain ones). This ensures PixelFlow loads on every page where you want tracking active.
Click Preview to open Tag Assistant and confirm the PixelFlow script loads correctly.
If it does, click Submit → Publish to make it live.
Any other questions? Get in touch