
WooCommerce Setup
Use this guide to install PixelFlow on WooCommerce with the official WordPress plugin.
If you are not using WooCommerce, use Wordpress for the standard WordPress setup.
Install the PixelFlow plugin
Install and activate the PixelFlow WordPress plugin.
Open Settings → PixelFlow Settings.
Log in and activate PixelFlow
Click Login or Start Free Trial.
Complete the setup in your PixelFlow dashboard.
Return to WordPress.
Turn on Activate PixelFlow.
Click Save Changes & Insert Script.
Clear cache and publish changes
Clear any WordPress, hosting, or CDN cache.
Open the live store, not an admin preview.
Visit your website
Visit your live store in a new browser window or incognito mode.
Browse a few pages.
Go back to your PixelFlow dashboard and you should see the "Congratulations" window confirming your tracking is setup
Setup Complete
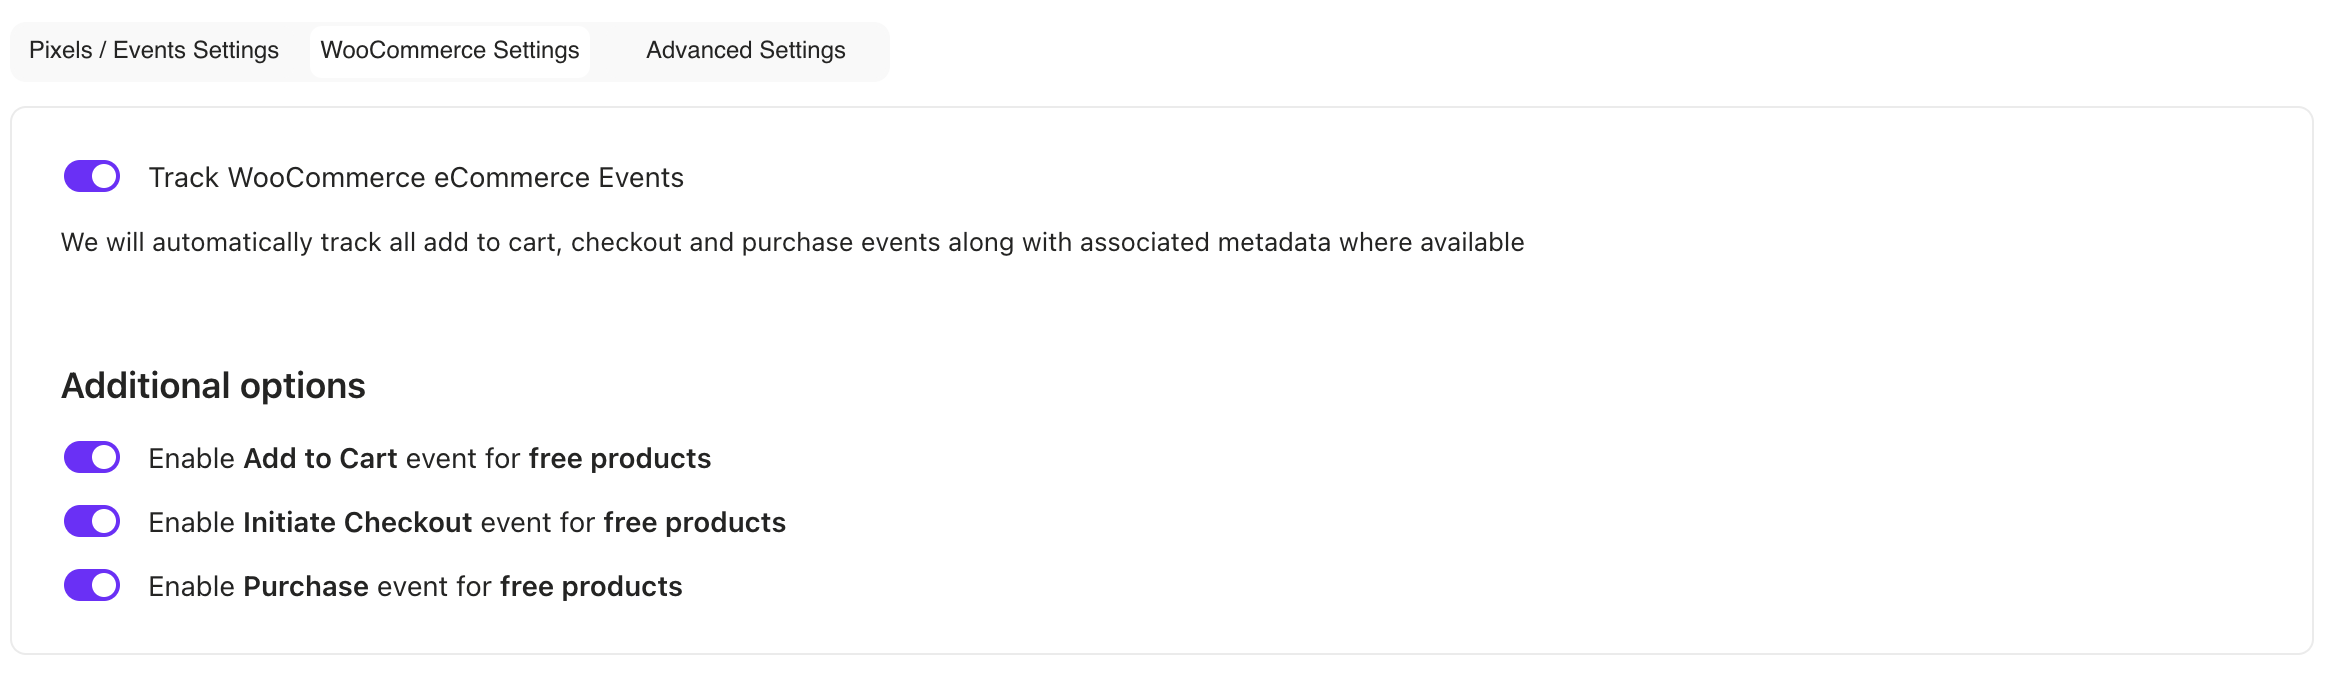
The WooCommerce integration automatically tracks the following types of events:
page views
add to cart
checkout
purchase
Optional Additional Settings
Enable/disable tracking for free products in the plugin by clicking the "WooCommerce Settings" tab
Exclude tracking for user roles - useful for testing/keeping clean data. You can disable tracking for any particular user types like Admininstrator etc. by clicking on the "Advanced Settings" tab in the plugin

Track More Events
To track more types of events on your WooCommerce website other than PageViews and eCommerce events (eg. forms, buttons etc.) setup more tracking
View More Information