
Cookie Consent in Framer
The following guide will show you how to load the PixelFlow script in Framer using the free cookie consent plugin by Framer - you can find more detailed guides from Framer here:
https://www.framer.com/academy/lessons/cookie-banner-component
Before setting this up, you will need to add PixelFlow to Google Tags Manager by following the steps in this article
In Framer, click on Insert in the top left corner
Search for "cookie banner" and drag it onto the Canvas to begin working with it. You need the component to every page where you want it to be visible. The easiest way to do this is to add it to a common component that appears on every page such as a navbar, footer, or sidebar.
You can adjust the GDPR / location settings of the banner in the "Regions" section. This will let you adjust the default consent settings:
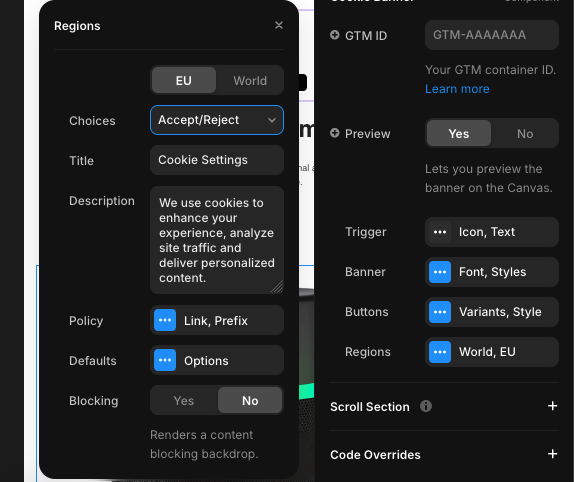
For the PixelFlow script to run, the user needs to grant "Marketing" permissions. The Framer component will track if a user has given these permissions and send them to GTM where its "Consent Mode" will check if permission is given and then run the script
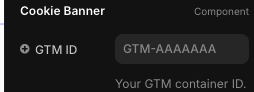
Add your GTM container ID to the plugin (you can find this in the top right corner of your GTM account)
Publish your site
PixelFlow will now only run once consent has been given by the user.
You need to ensure you add a new trigger in GTM to run the PixelFlow script after consent has been given as well as PageView triggers. Otherwise PixelFlow will only load after the user gives consent and reloads the page. You can find instructions on how to do this here.