
Squarespace Setup
This article guides you through the process of how to set up the Facebook Conversions API on Squarespace.
IMPORTANT: PixelFlow automatically loads both your Pixel & CAPI together. This means you don't need to load your Pixel separately anymore. If you have the Facebook Pixel installed on Squarespace, ensure you remove it to avoid any duplicated events.
Open the Meta Pixel & Ads panel in Squarespace (Settings > Marketing > Meta Pixel & Ads)
Delete the information in the Pixel ID field, and save your changes.
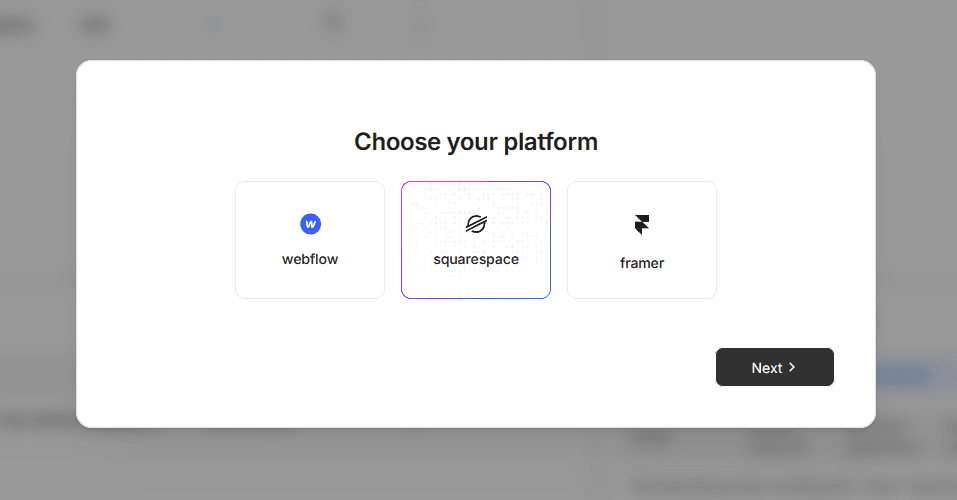
1. Choose Squarespace as Your Platform
In the PixelFlow dashboard, when you create your account for the first time, or when adding a new site, select "Squarespace" from the options:
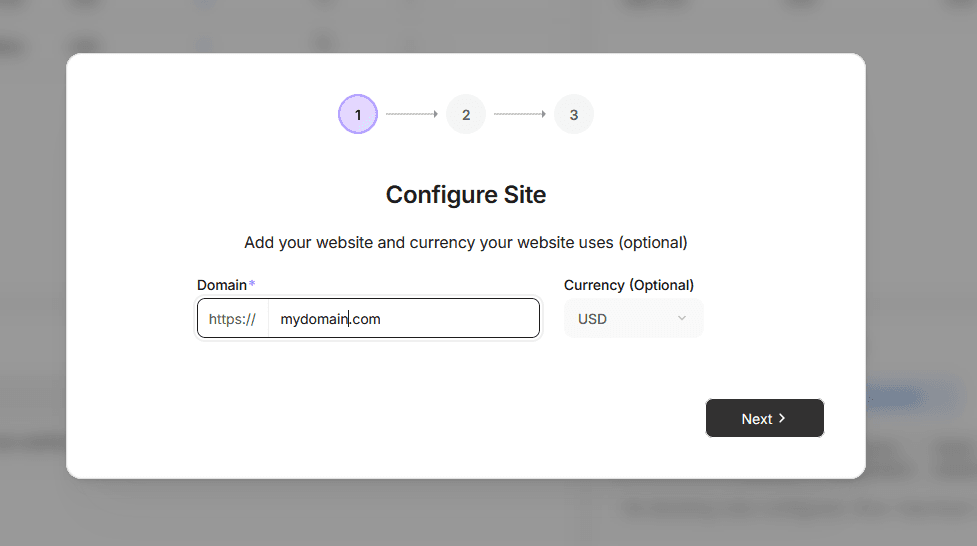
2. Add Your Site
Enter your domain name and site currency (optional)
3. Connect Your Pixel
By default, we will load both your Facebook Pixel and Facebook CAPI at the same time to ensure events are correctly deduplicated.
Add your Pixel Name (can be any name)
Add your Pixel ID - click here for instructions on where to find your Pixel ID
Add your Meta Pixel Access Token “Meta Pixel Access Token” - click here for instructions on where to find your Meta Pixel Access Token
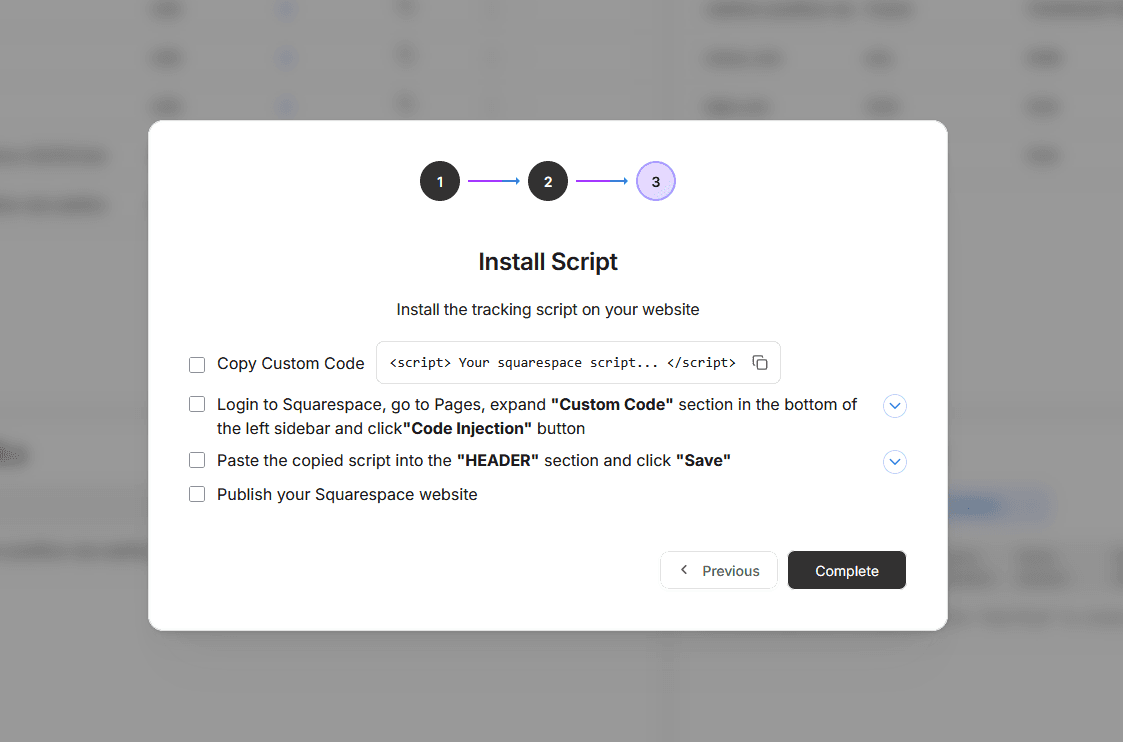
4. Install Your Script
Copy the script from the "custom code" box and install it on the header section of your Squarespace website by following these instructions:
Login to Squarespace and go to Pages
Expand the "Custom Code" section in the bottom left side bar and click the "Code Injection" button
Paste the copied script into the "HEADER" section and click "Save"
Publish your website
IMPORTANT: Don't forget to remove any existing Facebook Pixel integrations to avoid any duplicated events.
1. Open the Meta Pixel & Ads panel in Squarespace (Settings > Marketing > Meta Pixel & Ads)
Delete the information in the Pixel ID field, and save your changes.
After you have completed the initial setup, PixelFlow will be automatically tracking the following on your website:
Initiate Checkout (
InitiateCheckout) event on Checkout button clickAdd to Cart (
AddtoCart) on Add to Cart button clickAdd Payment Info (
AddPaymentInfo) event on purchase confirmation page load, e.g. https://www.yoursquarespacesite.com/commerce/orders/2e45bc6c-173e-4a1d-8b64-ea52127b4926Purchase event (
Purchase) on purchase confirmation page load, e.g. https://www.yoursquarespacesite.com/commerce/orders/2e45bc6c-173e-4a1d-8b64-ea52127b4926
Note: when user clicks Purchase button on Squarespace technically 2 events happen: addpaymentinfo and purchase
To track further events on Squarespace, follow the steps in How to Track Events using Event URLs