
Framer Setup (Using Plugin)
This article guides you through setting up the Facebook Conversions API on Framer using the official PixelFlow plugin from the Framer Marketplace. This is the recommended method for automatic setup and management.
Prefer manual setup? If you'd rather add the PixelFlow script directly to your Framer site without using the plugin, see Framer Setup (Without Plugin).
Prerequisites
Framer project access with permissions to install plugins
Admin access to Meta Business Manager with your Meta Pixel credentials
Remove any existing Facebook Pixel scripts to avoid duplicate tracking
1. Login or Register to PixelFlow Dashboard
Before starting the setup process, you'll need a PixelFlow account.
If you're a new user, you'll create your account during the plugin authentication step (Step 4 below)
If you're an existing user, you'll log in during the authentication step
A free 7-day trial starts automatically with no credit card required
You don't need to visit the dashboard first—authentication happens directly through the Framer plugin when you open it.
2. Install the PixelFlow Framer Plugin
Visit the PixelFlow Framer plugin in the Framer Marketplace
Click Install Plugin or Get Plugin
Choose which Framer project to install the plugin into
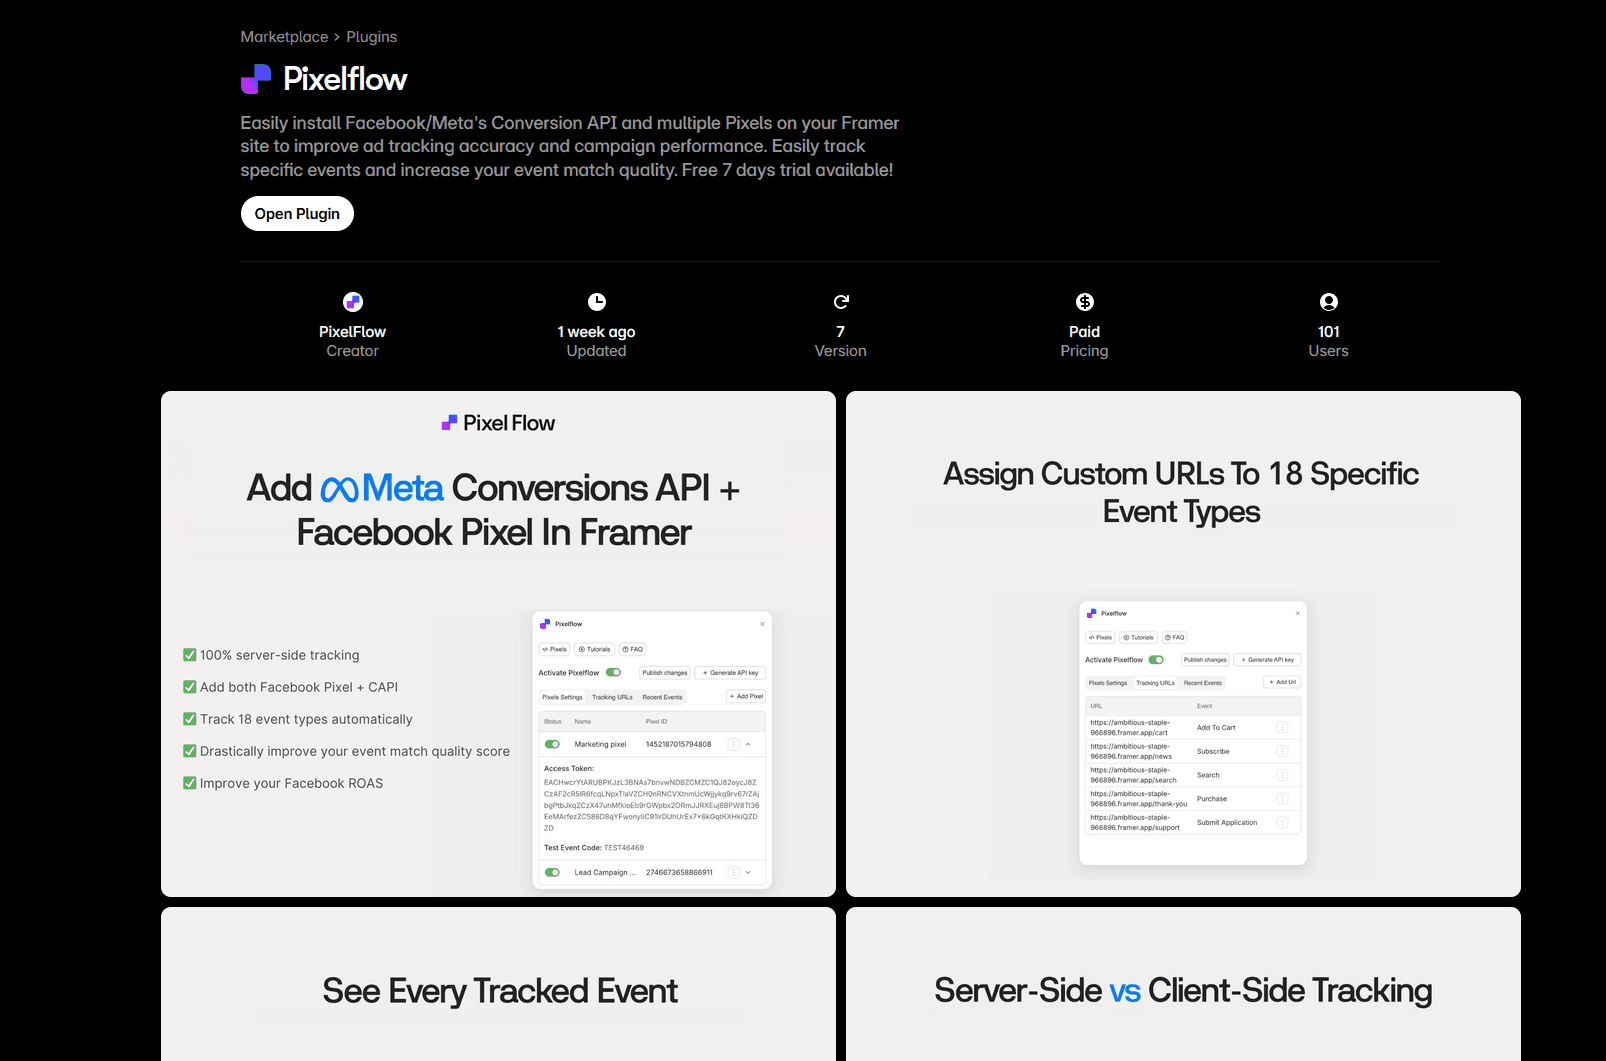
Installation complete: The PixelFlow plugin is now available in your Framer project.
3. Open the PixelFlow Plugin in Your Framer Project
In your Framer project editor, locate the PixelFlow plugin in your plugins panel
Click Open Plugin to launch it
The plugin will open in a panel within your Framer editor, showing the authentication screen.
4. Login to the Plugin
When you open the plugin, you'll see a login window prompting you to authenticate with PixelFlow.
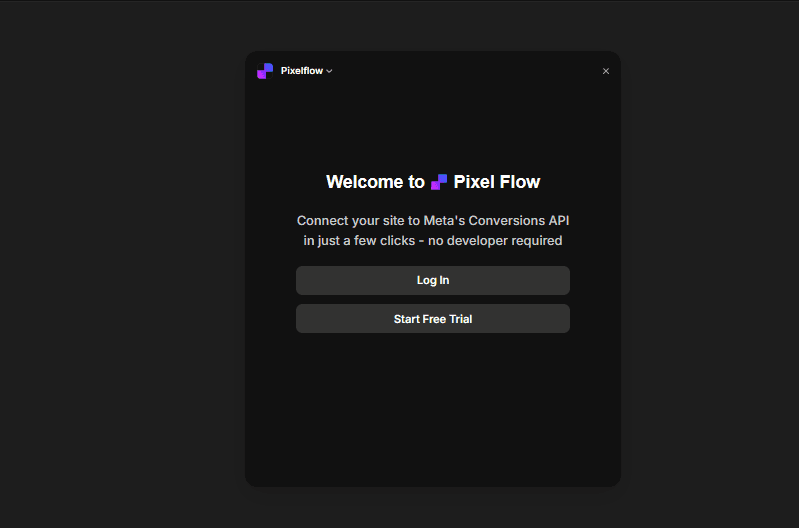
For existing PixelFlow users:
Click Login and enter your email and password, OR
Use Sign in with Google
For new users:
Click Start Free Trial
Create your account with email and password, OR use Sign in with Google
Complete registration
After successful authentication, a new browser tab will open briefly and then automatically close as it syncs with the PixelFlow dashboard.
Session expires after 5 minutes: You have 5 minutes to complete the authentication process. If you take longer, the session will expire and you'll need to reopen the plugin to generate a new session.
Google account already in use? If you see an error saying "An account with this email already exists," it means you previously created a PixelFlow account with email/password. Log in using your email and password instead of Google OAuth.
5. Wizard Auto-Opens: Autosync or Manual Site Sync
After successful authentication, the PixelFlow setup wizard will automatically open and guide you through the remaining steps.
Automatic Sync (recommended):
PixelFlow will attempt to automatically detect your Framer project information
If successful, your site domain will be pre-filled
Manual Entry (if autosync fails):
If automatic detection doesn't work, you'll see a warning message
Manually enter your website domain (starting with https://)
The wizard uses a 4-step process with visual navigation to guide you through setup. You can move between steps as needed.
6. Add Site Domain and Currency
In the first step of the wizard, configure your site details:
Enter your domain name (starting with https://)
Choose your currency from the dropdown (optional, used for eCommerce tracking)
Click Continue or Next to proceed
Your Framer site is now registered in PixelFlow and will appear in your Sites list in the dashboard.
7. Add Your Meta Pixel
PixelFlow loads both your Facebook Pixel and Facebook Conversions API simultaneously with automatic event deduplication to ensure accurate tracking. This means you can remove any existing Facebook Pixel scripts from your website.
In the second wizard step, connect your Meta Pixel:
Add your Pixel Name (can be any name you choose for identification)
Add your Pixel ID (find this in Facebook Events Manager)
Add your Meta Pixel Access Token (generate this in Facebook Events Manager under Settings)
Check the box to confirm you've removed any existing native Meta Pixel
Click Add Pixel or Save
Need help finding your Pixel ID or Access Token? Check out our simple guide on How to Find Your Pixel and Generate your Access Token
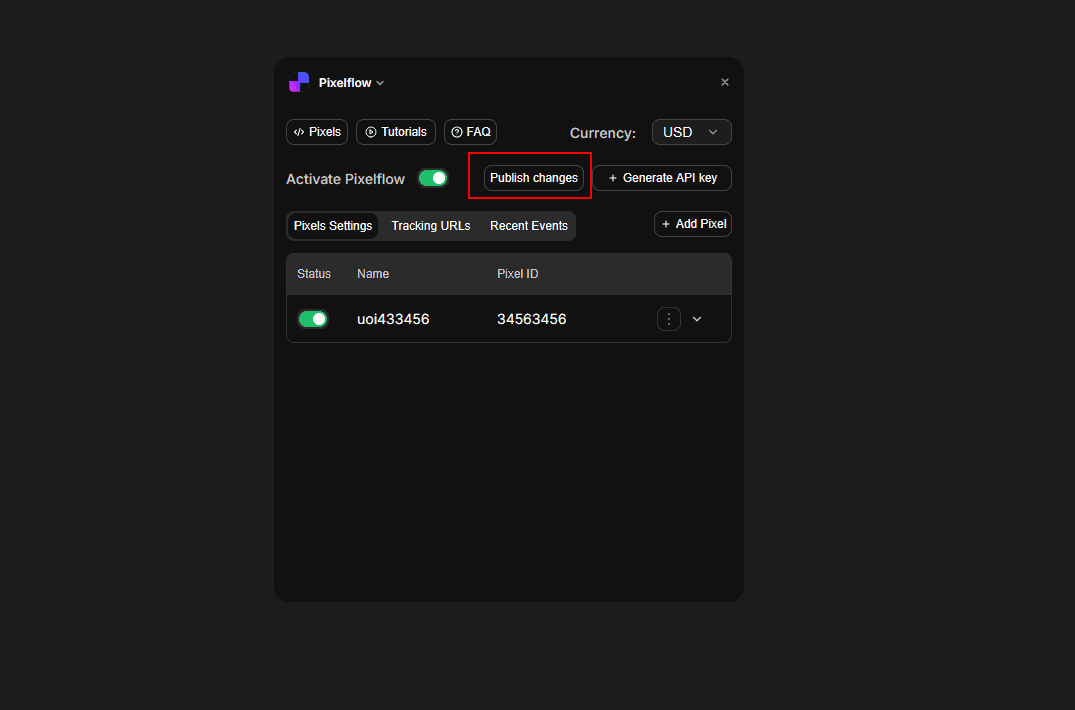
8. Activate PixelFlow and Publish Your Site
In the third wizard step, activate tracking for your Framer site.
Activate the plugin:
In the PixelFlow plugin panel, toggle ON Activate PixelFlow
Click the Publish Changes button in the plugin
Publish your Framer site:
In the Framer editor, click the Publish button in the top toolbar
Click Update to publish your changes to your live site
Must publish to activate: The PixelFlow script won't load on your site until you publish your Framer project. Clicking "Publish Changes" in the plugin alone is not enough—you must also publish your Framer site.
Automatic Script Updates: After you activate PixelFlow, it will automatically be updated to apply any new changes. New website visitors will receive an update immediately, those who currently use your website will receive it in up to 1 mins (when script cache is invalidated). No additional action is required from your end. However, if you added your script before the 27th November 2024, you'll need to update it one last time to the latest version of the script which will update itself going forward.
9. Interact with Your Site and See Confetti
The final wizard step helps you verify your setup is working correctly.
Visit your live website in a new browser window or incognito/private mode
Navigate to a few pages on your site (e.g., homepage, then click some links)
Return to the PixelFlow wizard—it will automatically poll for events every 10 seconds
When the first Page View event is detected, you'll see:
A confetti animation (purple, pink, and blue particles from center screen)
A green congratulations modal: "Congratulations! Your Framer site is now connected to PixelFlow"
The wizard will close automatically
Your site status will change to "Connected" in the Pixels table on your Overview page
Setup complete! PixelFlow is now tracking Page View events on your website. Events should appear in your PixelFlow dashboard within 2-3 minutes.
No events appearing? If you don't see events after a few minutes, verify that:
You published your Framer site after activating PixelFlow in the plugin
The "Activate PixelFlow" toggle is ON in the plugin
You're visiting the live published site (not the Framer preview)
Additional verification:
Check the Events page in your PixelFlow dashboard
Check Facebook Events Manager to confirm events are arriving (look for both "Browser" and "Server" events)
For detailed verification steps, see How to Test and Verify Your PixelFlow CAPI Setup.
10. Set Other Tracking
After the wizard closes, you can configure additional event tracking beyond Page Views.
Available tracking options:
Event Classes: Track form submissions, button clicks, and custom interactions using CSS classes—see How to Track Events
Tracking URLs: Track specific page visits, button clicks, or link interactions
Calendly Integration: Automatically track Lead or Schedule events when users book calls
All tracking is unlimited on every plan, with no limits on events or pixels.
Access these settings from your PixelFlow dashboard Overview page or the Events page. Each site can have custom tracking configurations.
Troubleshooting
Symptom | Likely Cause | Solution |
|---|---|---|
Login window doesn't appear or close | Popup blocker is enabled | Allow popups for PixelFlow in your browser settings, then reopen the plugin |
"Session expired" or "Session not found" error | Took longer than 5 minutes to authenticate | Close the plugin and reopen it to generate a new session |
"An account with this email already exists" | Email is already associated with an email/password account | Log in with your email and password instead of Google OAuth |
Autosync fails or shows warning | Framer project information couldn't be detected | Manually enter your domain in the wizard and proceed with setup. If issues persist, book a free setup call |
No events appearing in PixelFlow dashboard | Plugin not activated or site not published | Verify "Activate PixelFlow" is toggled ON, click "Publish Changes," then publish your Framer site |
Events not appearing in Facebook Events Manager | Meta Pixel not configured or incorrect Access Token | Reopen the PixelFlow plugin and verify your Pixel ID and Access Token are correct |
No confetti after interacting with site | Events not reaching PixelFlow or wizard timeout | Wait 2-3 minutes and check the Events page manually. Wizard polls for 1 hour max |
Redirected to subscription page after login | Trial expired or subscription inactive | Activate your subscription or start a new trial in the PixelFlow dashboard |
Limitations
Session key expiration: Authentication sessions expire after 5 minutes. If you don't complete login within this window, you'll need to reopen the plugin.
Popup requirements: The authentication flow requires a popup window. If your browser blocks popups, you must allow them for PixelFlow.
Account linking: You cannot link a Google account to an existing email/password account. Choose one authentication method.
Wizard polling window: The verification step polls for events for up to 1 hour. After that, check the Events page manually.
Manual sync limitations: If autosync fails and manual entry doesn't work, contact support for assistance.
Getting Help
If you're experiencing issues with your Framer setup:
Check that you've completed all 10 steps above and published your site
Verify your Meta Pixel ID and Access Token are correct in Facebook Events Manager
Use browser developer tools (F12) to check for JavaScript errors on your site
Contact PixelFlow support at [email protected] or book a free setup call
When contacting support, please provide:
Your Framer site URL
Screenshots of any error messages
Whether you're seeing events in your PixelFlow dashboard
Whether you're seeing events in Facebook Events Manager