
WooCommerce
This article guides you through the process of how to set up the Facebook Conversions API on WooCommerce.
Overview
This guide will walk you through installing the PixelFlow plugin for WooCommerce and setting up Meta CAPI tracking via the PixelFlow dashboard. After completing these steps, you'll be automatically tracking the following in your WooCommerce store:
Page View events
Add to Cart, Initiate Checkout, Purchase events
If you currently have the Facebook Pixel script installed on your WordPress site, you'll need to remove it after setting up PixelFlow. Running both scripts simultaneously will cause duplicate event tracking. PixelFlow loads both the Facebook Pixel and Conversions API automatically.
1. Install the PixelFlow WordPress Plugin
Download the PixelFlow plugin from here
After installation completes, click Activate
2. Open PixelFlow Plugin Settings
Navigate to Settings → PixelFlow Settings in your WordPress admin menu
Or click the Settings link directly under the plugin name in your Plugins list

3. Login to the Plugin
When you first open PixelFlow Settings, you'll see a Welcome screen with authentication options.
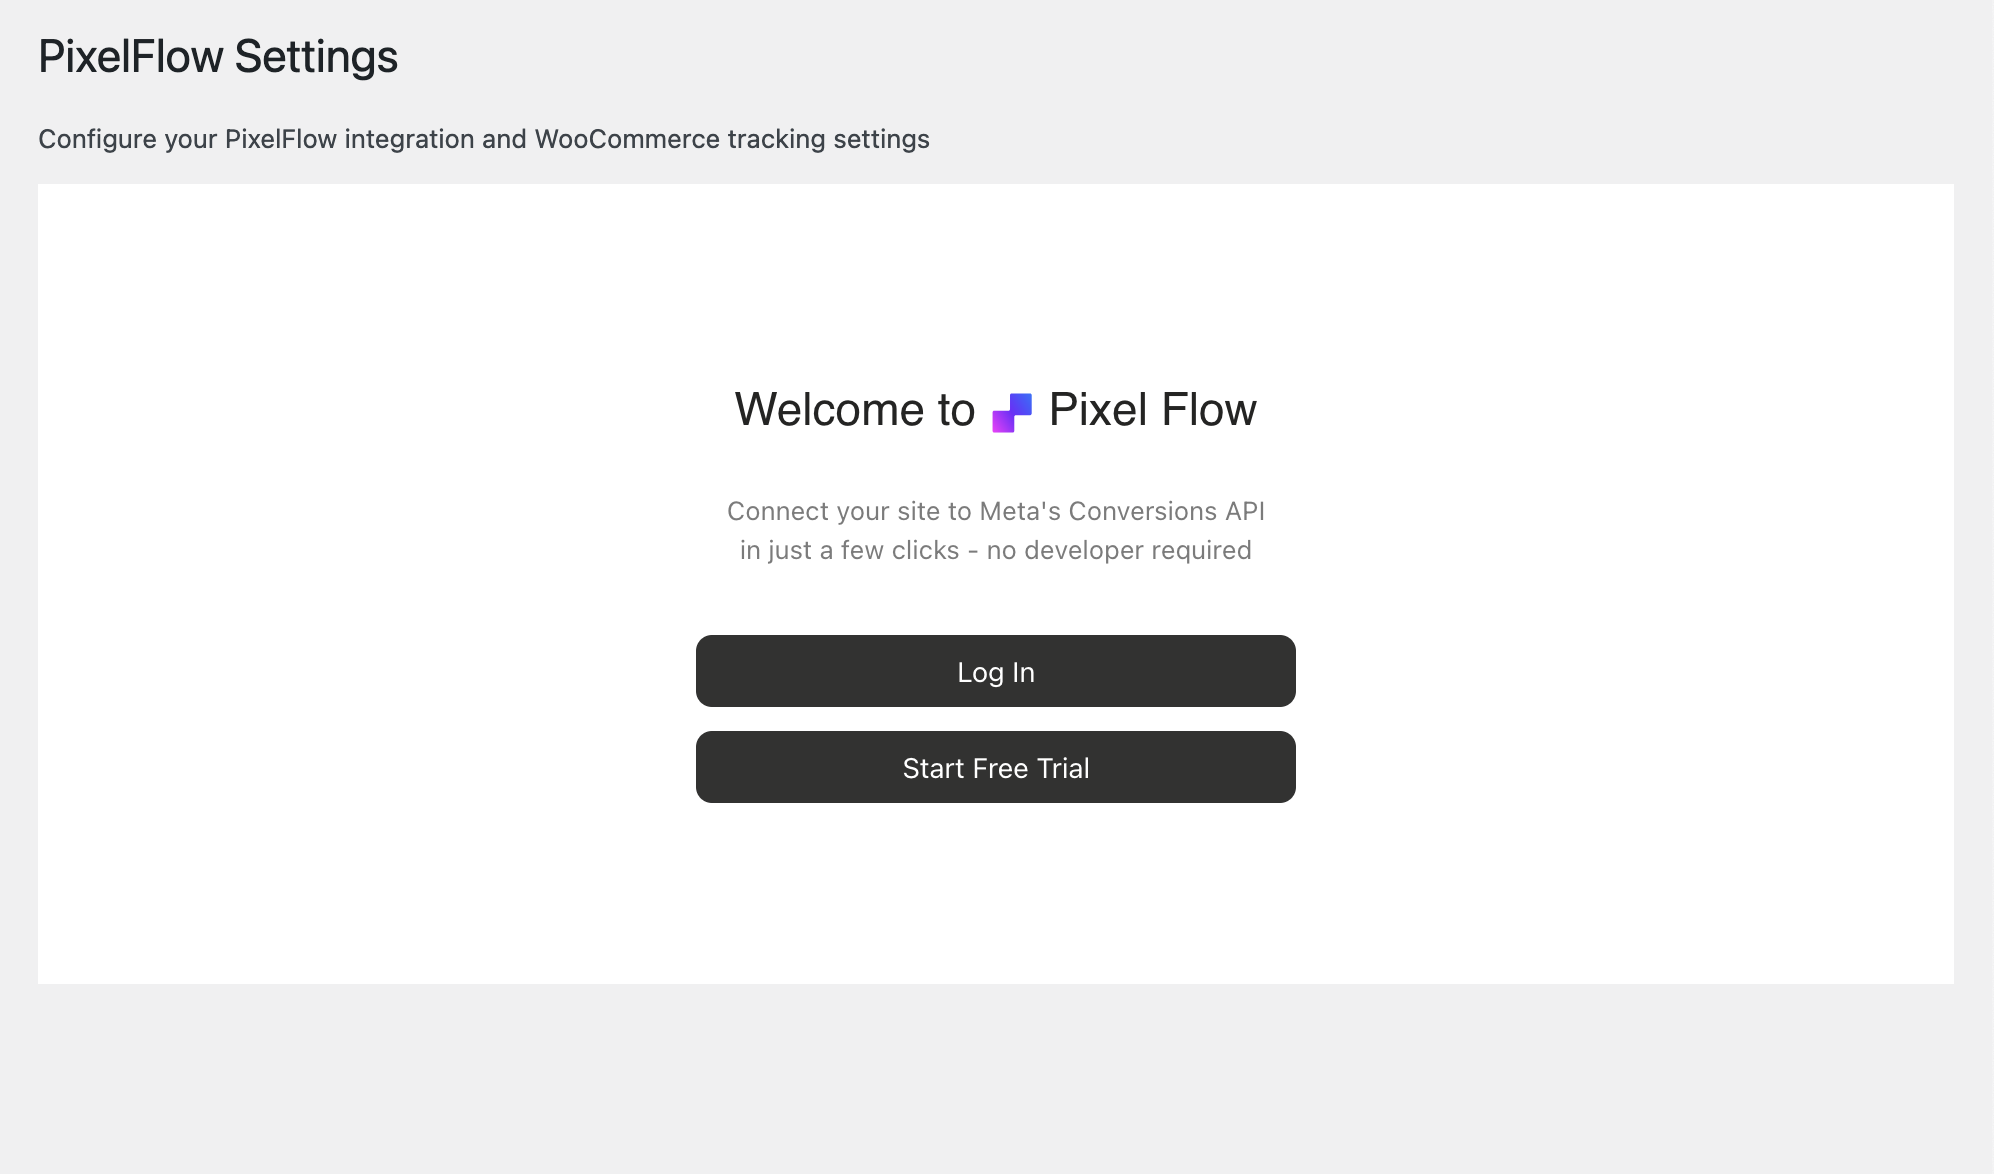
Click Login if you have an account or Start Free Trial if you're just starting
Return to your WordPress admin panel—the plugin will now show as authenticated
4. Wizard Auto-Opens: Autosync or Manual Site Sync
After authentication, you'll be directed to the PixelFlow dashboard where the setup wizard will automatically open and guide you through the remaining steps.
5. Add Site Domain and Currency
In the first step of the wizard, configure your site details:
Enter your website URL
Select your currency from the dropdown
Click Continue
6. Add Your Meta CAPI Acess Token
PixelFlow loads BOTH your Facebook Pixel and Facebook Conversions API simultaneously with automatic event deduplication. This ensures the most accurate tracking while bypassing ad blockers and iOS restrictions.
Enter a Pixel Name (can be any name for your reference, e.g., "Main Website Pixel")
Add your Meta Pixel ID (also called Dataset ID; find this in Facebook Events Manager)
Add your Meta Pixel Access Token (go to Meta Events Manager > Datasets > select your dataset (Pixel) > Click Settings > Scroll down to Setup Direct Integration section > Click Generate Access Token > Copy it and paste into PixelFlow)
Click Next
Need help finding your credentials? Check out our guide: How to Find Your Meta Pixel ID and Access Token
7. Activate PixelFlow in WordPress Plugin
Now that your pixel is configured in the dashboard, return to your WordPress admin panel to activate tracking. You'll see that the information between your dashboard and the plugin is synchronized.
Go back to Settings → PixelFlow Settings in WordPress
Toggle ON the Activate PixelFlow switcher

Click the Save Changes & Insert Script button
Your PixelFlow tracking script is now active! PixelFlow will automatically begin tracking Page View events on your WordPress site within 2-3 minutes.
Clear your cache: If you use any caching plugin (such as WP Rocket, W3 Total Cache, or WP Super Cache), you must clear your cache to ensure the PixelFlow script loads on your live website.
8. Interact with Your Site and See Confetti
The final wizard step helps you verify your setup is working correctly.
Visit your live website in a new browser window or incognito/private mode
Navigate to a few pages on your site (e.g., homepage, then click some links)
Return to the PixelFlow wizard—it will automatically poll for events every 10 seconds
When the first Page View event is detected, you'll see:
A confetti animation (purple, pink, and blue particles from center screen)
A green congratulations modal: "Congratulations! Your site is now connected to PixelFlow"
The wizard will close automatically
Your site status will change to "Connected" in the Pixels table on your Overview page
Setup complete! PixelFlow is now tracking Page View, Add to Cart, Initiate Checkout and Purchase automatically events on your WooCommerce website. Events should appear in your PixelFlow dashboard within 2-3 minutes.
No events appearing? If you don't see events after a few minutes, verify that:
"Activate PixelFlow" is toggled ON in the plugin
You clicked "Save Settings & Insert Script"
You cleared your cache (if using a caching plugin)
You're visiting the live site (not a local development environment)
Additional verification:
Check the PixelFlow Events page in your dashboard
Check Facebook Events Manager to confirm events are arriving (look for both "Browser" and "Server" sources)
For detailed verification steps, see How to Test and Verify Your PixelFlow CAPI Setup.
How to Setup More Tracking
There's a number of ways to track more events on your website:
Event Classes: Track form submissions, button clicks, and custom interactions using CSS classes—see Event Classes on WordPress
Tracking URLs: Track specific page visits, button clicks, or link interactions—see How to Track Events
Form Submissions: Capture lead data from contact forms—see How to Track Events for Form Submissions
Calendar/Call Bookings: Automatically track Lead or Schedule events when users book calls—see How to Track Calendars & Call Bookings
All tracking is unlimited on every plan, with no limits on events or pixels.
Access these settings from your PixelFlow dashboard Overview page or the Events page. Each site can have custom tracking configurations.
Advanced Configuration
There are a number of additional settings you can enable in the plugin:
Exclude Script for User Roles
You may not want to track events for yourself, editors, or other WordPress user roles. By default, all site visitor actions are tracked.
To exclude specific user roles from tracking:
In Settings → PixelFlow Settings, scroll to the Advanced section
Select the user roles you want to exclude (Administrator, Editor, Shop Manager, etc.)
Click Save Settings
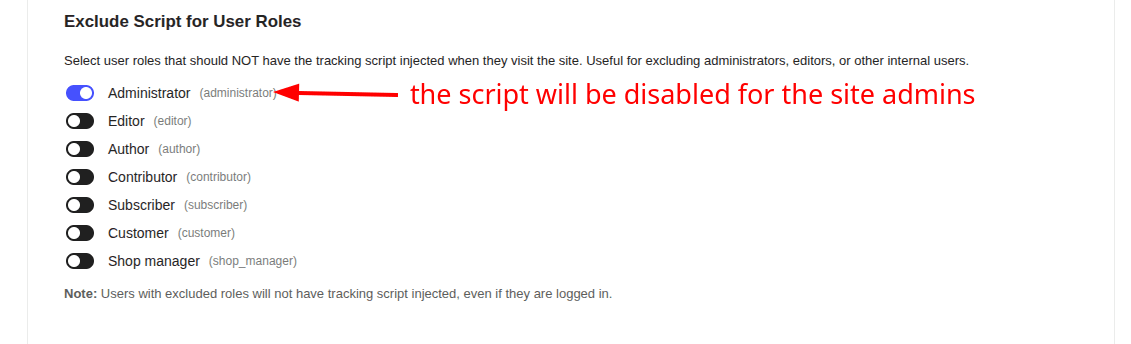
Excluding admin and editor roles prevents test actions from inflating your event counts and ensures your Meta Ads data stays accurate.
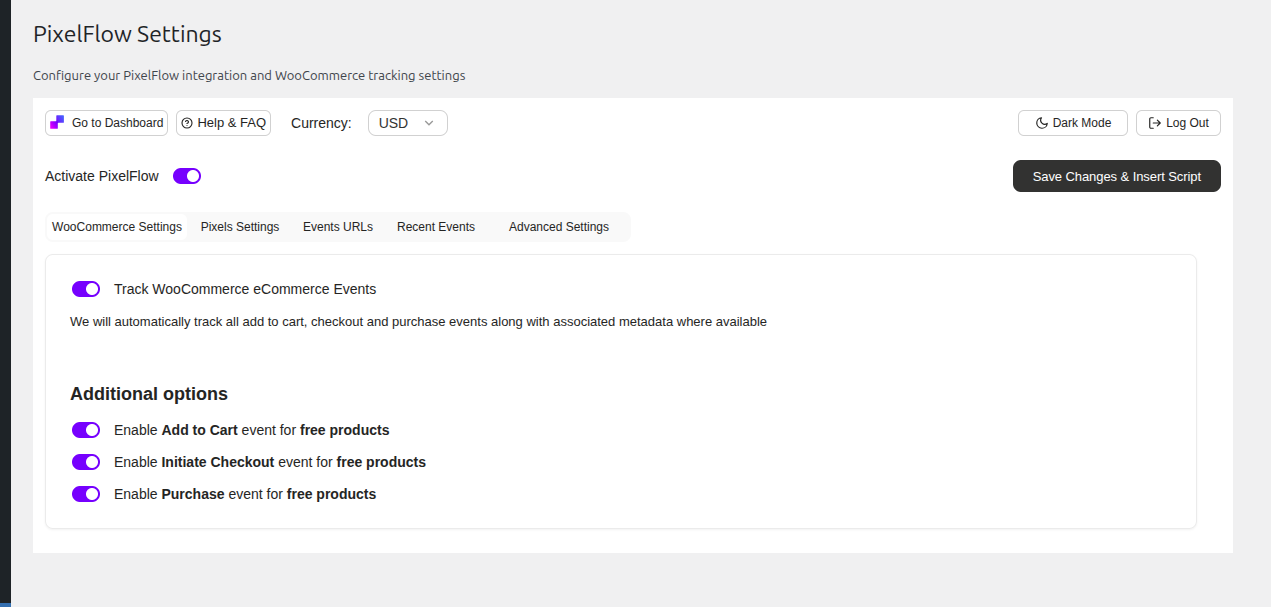
Choose Which WooCommerce Events to Track
In your PixelFlow plugin you'll see "Additional Options". This lets you:
Toggle ON Track WooCommerce eCommerce Events
Select which events to track (all are enabled by default):
Add to Cart – Triggered when a customer adds a product to their cart
Initiate Checkout – Triggered when a customer begins checkout
Purchase – Triggered when a customer completes an order
What data is tracked? PixelFlow captures all available product data from WooCommerce including product name, ID, price, SKU, categories, quantity, currency, and customer information. This data is automatically enriched and sent to Meta for improved targeting and attribution.
Disable Free Product Tracking
By default, PixelFlow tracks all WooCommerce events including those for free products ($0 value).
To disable tracking for free products:
In WooCommerce Settings, toggle OFF Purchase for free products
Click Save Changes & Insert Script
When disabled, Add to Cart, Initiate Checkout, and Purchase events will not fire for products with a price of $0.
Why track free products? If you offer free trials, lead magnets, or free tiers that convert to paid products, tracking these events helps Meta understand your full conversion funnel and optimize for higher-quality leads.
Manual Tracking with Classes (Optional)
WooCommerce eCommerce events are fully automatic. However, you can still use event classes to track other interactions on your WooCommerce store, such as:
Custom buttons (e.g., "Request Quote," "Add to Wishlist")
Contact forms
Newsletter signups
Custom CTAs
See Event Classes on WordPress for instructions on adding tracking classes to custom elements.